Description
Contents:
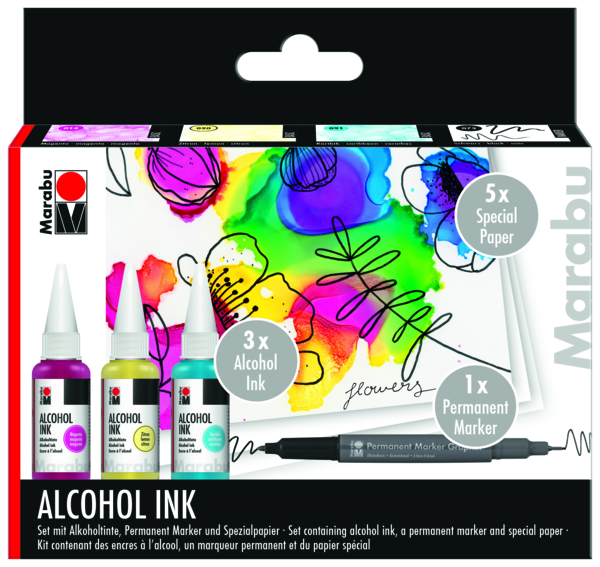
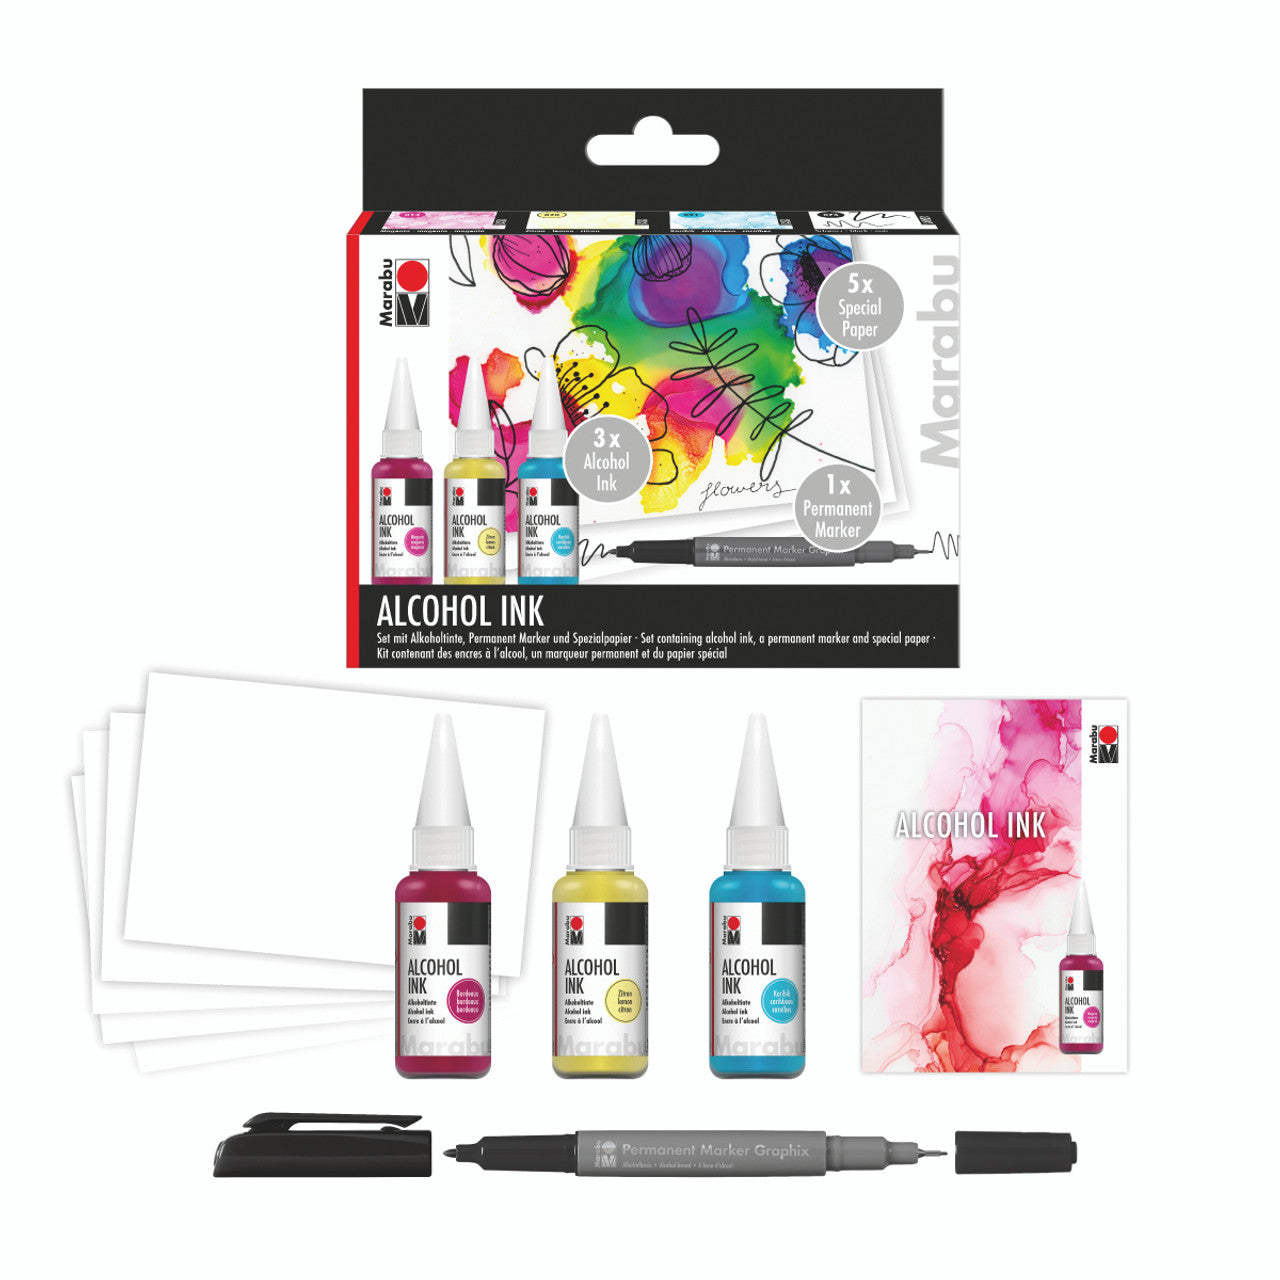
3 x 20 ml Alcohol Ink (Magenta 014, Lemon 020, Caribbean 091),
1 x Permanent Marker (Black 073),
5 x special paper DIN A6,
1 x brochure DIN A5
- Set containing 3 x 20 ml Alcohol ink (Magenta, Lemon, Caribbean), 1 x Permanent Marker (Black), 1 x Permanent Marker (Black), 5 x non-absorbent special paper DIN A6, 1 x brochure DIN A5
- Permanent, transparent alcohol ink for a wide range of pouring techniques and creative designs
- Alcohol-based permanent marker for adding embellishments, lettering and Sketches
- Matt, non-absorbent special paper ideal for use with alcohol ink
- More Information about the product, suggested uses and helpful tips and tricks can be found in the enclosed brochure
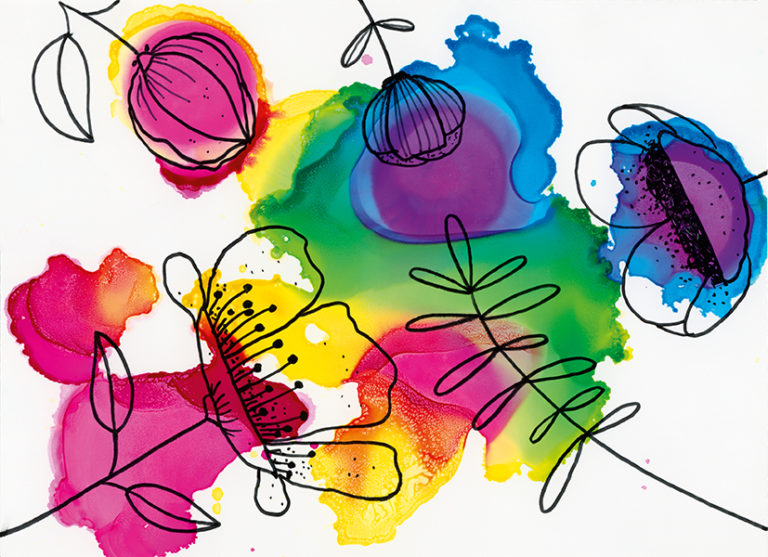
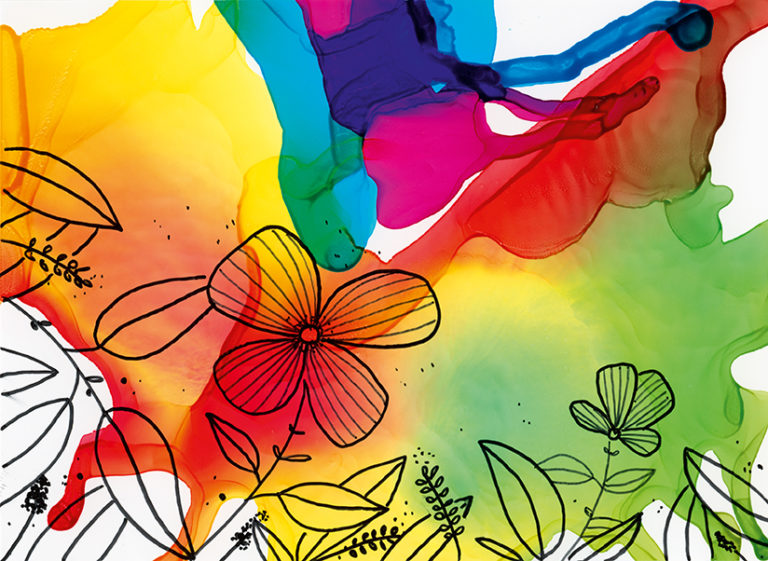
Flowing designs, unpredictable colour gradients and exciting techniques – step into the world of fluid art with the Alcohol Ink set “Flowers”. The set includes everything you need to get started: The set contains three brilliant, transparent, fast-drying Alcohol Inks suitable for mixing (lemon, magenta and Caribbean) plus five DIN A6 sheets of matt, non-absorbent special paper. This paper is ideal for use with Marabu Alcohol Ink and enables optimum ink flow. The black, alcohol-based Permanent Marker with a twin tip (1 mm/0.5 mm) can be used to add embellishments, lettering or drawings to the dried Alcohol Ink design. The enclosed brochure explains how to use Alcohol Ink and provides plenty of great ideas, tips and tricks.
Background:
Alcohol Ink is suitable for use on all non-absorbent backgrounds.
Alcohol Ink can behave differently depending on the background. For example, non-absorbent special paper, metal, ceramic, glass, plastic and many other materials. We therefore advise you to perform test applications on the desired background.
Preparation:
Cover the work surface and your clothing.
Put on disposable gloves.
Put on a protective mask and open the windows.
Shake the metallic and diamond Alcohol Inks until the pigments are evenly distributed (mixing ball contained).
How to open the Alcohol Ink bottle: pull off the cap and insert a pin into the top of the bottle tip. If the bottle has already been opened: place a gloved finger over the open bottle tip and shake well.
Basics:
Squeeze droplets of Alcohol Ink onto the background.
The droplets spread out.
If a second colour is added next to or on top of the previous one, it will displace the first one.
Alcohol Ink technique DROPS
Squeeze droplets of Alcohol Ink in the desired colour onto the surface. Each droplet will spread out. Adding droplets of a second colour next to or on top of the first colour, displaces the first one. Alcohol Ink Extender creates clear circles. Keep adding more droplets of Alcohol Ink until the desired result has been achieved.Alcohol Ink technique WISPY LAYERS
Squeeze droplets of Alcohol Ink in the desired colour onto the surface. Add Extender on top. Set the hair dryer to cold and use it to slowly and carefully blow the paint inwards. The fluid paint collects in the inner area. Continue until the paint is dry. Apply Extender to the outer edges and repeat the process with the hair dryer. Thin, delicate (“wispy”) layers are created.Alcohol Ink technique COLOUR SPLASH
Squeeze droplets of Alcohol Ink in the desired colour onto the surface. Add Extender on top. Carefully blow the ink, working outwards (e.g. with a drill hole blower). To create flowers, blow the ink outwards working in a circle. Repeat the process several times until the desired result has been achieved.
Alcohol Ink technique MASKING
Marabu Fixogum is ideal as a masking agent for non-absorbent surfaces in combination with Alcohol Ink. Apply Fixogum to the surface (e.g. in the form of text, lines etc.) and leave to dry. Next, apply Alcohol Ink as desired. Allow to dry completely. The Fixogum glue can then be simply rubbed off the background to reveal the image previously drawn on.
Alcohol Ink technique WIPE STENCILLING
Apply Alcohol Ink to the surface. Allow to dry completely. Select a stencil and place it on the background. Moisten paper towel roll or similar with Extender and rub over the stencil. This removes a Little colour from the stencil image. Remove the stencil. The stencil image is now lighter than the background created in Alcohol Ink.
Tips for Alcohol Ink
- Alcohol ink is suitable for non-absorbing surfaces such as specially coated paper.
- Alcohol Ink can behave differently depending on the background. Test applications recommended.
- Alcohol Ink colours can be easily lightened using the Alcohol Ink Extender.
- If you want to use a darker shade, the Alcohol Ink colour can be briefly left in a mixing palette, for example. Some of the alcohol evaporates and the colour becomes more concentrated and darkens.
- The colours can be easily mixed in a plastic mixing palette to create new shades.
- The dried paint can be dissolved using Alcohol Ink or Extender. You can then simply continue painting and designing.


